A 432 Hz converter is a digital tool designed to retune audio files from the standard 440 Hz reference pitch to 432 Hz. This process adjusts the frequency of every note proportionally while maintaining the original tempo and structure of the recording. If you are new to pitch conversion or simply want a clear walkthrough, this guide explains how to use a 432 Hz converter efficiently and accurately.
Step 1: Understand What the Converter Does
Before starting, it is important to understand the purpose of a 432 Hz converter. Most modern music is tuned to A4 = 440 Hz, which is the international standard concert pitch. A converter shifts the reference pitch downward slightly so that A4 aligns with 432 Hz instead.
This is achieved through digital signal processing methods such as pitch shifting and frequency scaling. The adjustment is approximately minus 0.32 semitones or about minus 31.77 cents. Importantly, the converter does not change the tempo or playback speed when properly configured.
Step 2: Prepare Your Audio File
Pick out the music file that you want to change. Most converters can handle popular file types like MP3, WAV, FLAC, and sometimes AAC. For best results, use a high-quality file with a good bitrate and sample rate. Lower-quality files may produce artifacts during pitch processing.
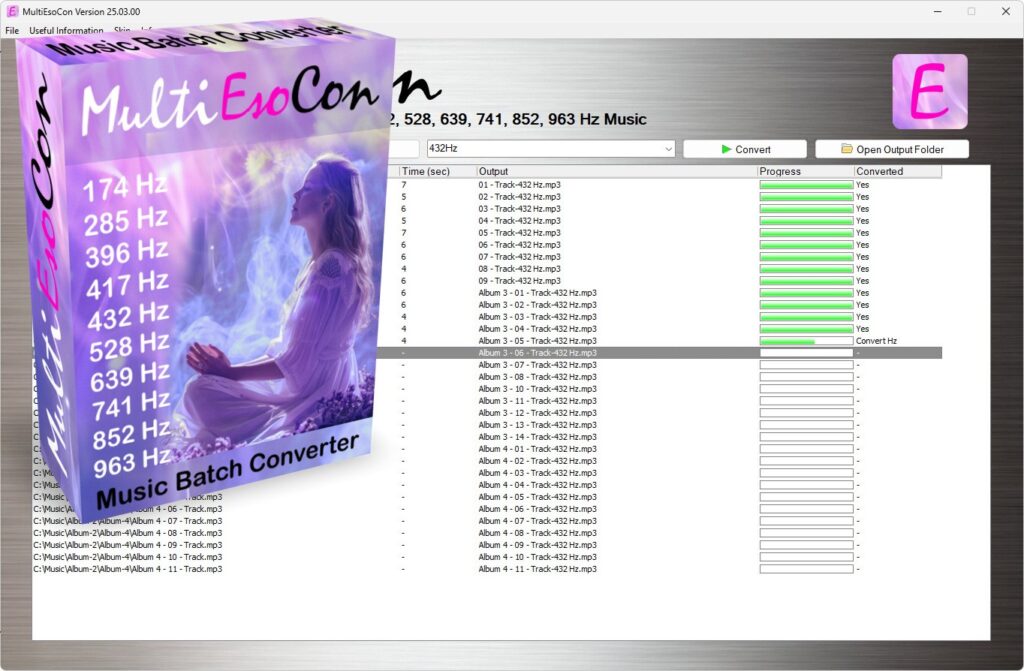
If you are using an online tool such as www.432-hz-converter.com, make sure your file size meets the platform’s upload limits. Offline software versions typically allow larger files and batch processing.
Step 3: Upload or Import the File
Open your chosen 432 Hz converter. If you are using a browser-based tool, locate the upload button and select your file. If you are using desktop software, import the file through the file menu or drag and drop it into the workspace.
Once uploaded, the converter analyzes the file. During this stage, the software reads important data such as sample rate, bit depth, and channel configuration.
Step 4: Choose Conversion Settings
Many converters offer adjustable settings. While some tools automatically apply the correct pitch shift for 432 Hz, others may allow manual adjustment. If manual control is available, confirm that the pitch shift corresponds to the correct frequency difference between 440 Hz and 432 Hz.
You may also see options such as:
· Output format selection
· Bitrate or quality settings
· Stereo or mono export
· File renaming options
Choose settings that match your intended use. For archival or professional purposes, WAV or FLAC formats are recommended because they preserve higher audio fidelity.
Step 5: Start the Conversion Process
After confirming your settings, initiate the conversion. The processing time depends on file size, processing power, and algorithm complexity. Modern converters use advanced DSP techniques such as phase vocoder processing or time domain pitch shifting to ensure accurate frequency scaling.
During conversion, the software adjusts all frequencies proportionally so that the entire track aligns with the new reference pitch. The timing and rhythm remain unchanged if time preservation algorithms are correctly applied.
Step 6: Review the Converted File
Once the process is complete, download or export the new file. Listen carefully to ensure there are no unwanted artifacts such as distortion, warbling, or phase issues. High-quality converters minimize these effects, but it is always good practice to review the output.
Compare the original and converted versions if needed. You may notice a subtle difference in pitch, but the structure and tempo should remain identical.
Step 7: Save and Organize Your Files
Label your converted file clearly to distinguish it from the original. For example, you might add “432Hz” to the file name. Keep both versions stored safely in case you need the original tuning later.
If you frequently convert files, consider organizing them into separate folders for 440 Hz and 432 Hz versions to avoid confusion.
Tips for Best Results
· Use high-quality source files to reduce processing artifacts.
· Avoid repeated conversions of the same file, as each process may slightly affect audio quality.
· If working with multitrack projects, consider converting stems individually before final mixing.
· Test different converters to compare processing accuracy and output clarity.
Conclusion
Using a 432 Hz converter is a straightforward process when you understand the workflow. By uploading your file, selecting proper settings, and applying accurate pitch shifting, you can retune audio efficiently without altering tempo or musical structure. Whether you are experimenting with alternative tuning standards or matching instruments tuned to 432 Hz, following these steps ensures precise and reliable results.
